 Figure 1. This
screen print was done at an altitude of 5,000 ft.
Figure 1. This
screen print was done at an altitude of 5,000 ft.How to bomb
using ‘bomb practise 10000’ mission
This example is using mission ‘bomb practise 10000.’ In this mission you are attempting to bomb Ramsgate on the south coast of England from an altitude of 10,000 ft at a speed of approximately 175 mph.
Step1. 10 miles from target
In this mission you start out 10 miles from the target on a heading of 260 degrees. Take control of your craft:
turn on your full hud ( h key then shift-h),
get the throttle up to about 50-60%),
turn on weapons view (alt-w)
and screen map (alt-m).
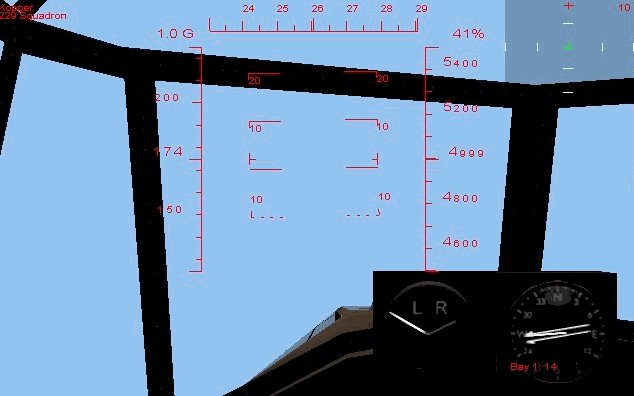
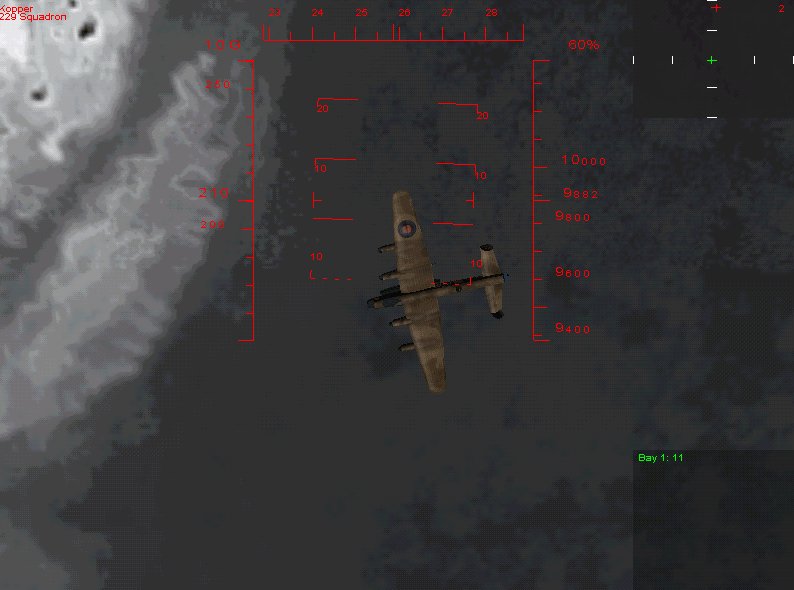
These three are required as a minimum to bomb effectively. Set your screen map to a range of 10 miles (hit the r key until a 10 appears on the map). See figure 1:
Figure 1. This
screen print was done at an altitude of 5,000 ft.
When you are 10 miles out concentrate on getting the target, marked by a red + on the screen map straight ahead and make sure your aircraft is straight and level (figure 2)
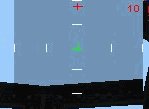
Figure 2. Get the target directly ahead
Step 2. 5 miles from target
 At 5 miles out
commence preparations for your bombing run. Turn on auto pilot (p key) switch to
the bomb aimer position (F7) and take control (F6). Do this quickly because the
autopilot always tries to turn the aircraft around. I haven’t figured out why
yet. Open the bomb bay doors (d key) you can here the whine of the motor to open
the doors, arm your master weapons (a key) and select the bombs (6). Do an
external view to check the bomb bay doors are open. Switch your map to the 5
mile range (r key). See figure 3.
At 5 miles out
commence preparations for your bombing run. Turn on auto pilot (p key) switch to
the bomb aimer position (F7) and take control (F6). Do this quickly because the
autopilot always tries to turn the aircraft around. I haven’t figured out why
yet. Open the bomb bay doors (d key) you can here the whine of the motor to open
the doors, arm your master weapons (a key) and select the bombs (6). Do an
external view to check the bomb bay doors are open. Switch your map to the 5
mile range (r key). See figure 3.
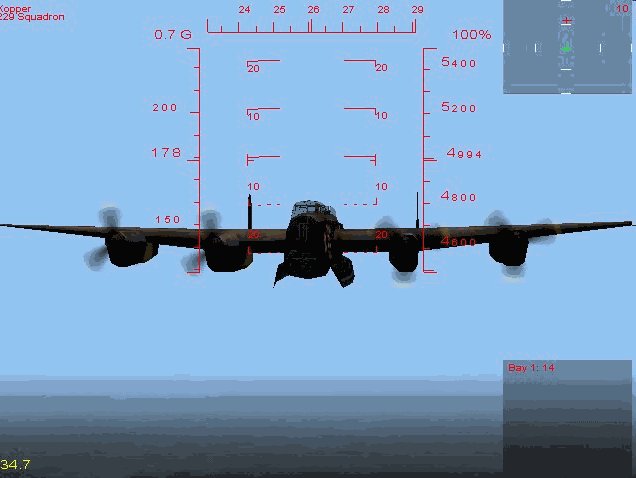
Figure 3. 5 miles out, bomb bay open straight and level
Once you are in the bomb aimer position only make minor corrections to your course from here on in. When you are moving your joystick to make corrections you are actually flying the plane. It’s hard to make corrections because if you bank to port the bomb sight view moves to the starboard. Use your hud for reference when doing this not the visual view through the bomb sight. Try to keep your speed around 175-195 mph.
When is the correct point to release bombs? This will always depend on height, speed and winds. This is where I have the town in my sights when I released the bombs.
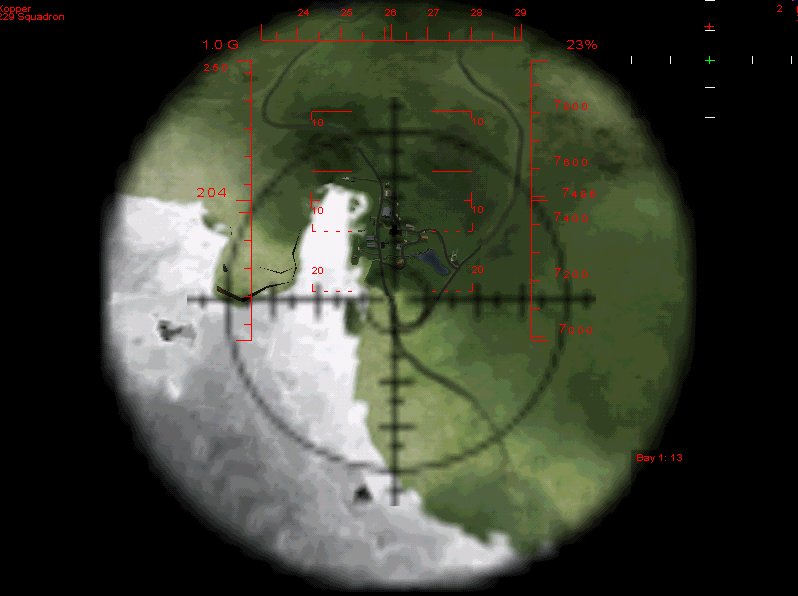
figure 4. Good point to drop bombs
 From the outside
this is the approximate position of the aircraft when you release bombs.
From the outside
this is the approximate position of the aircraft when you release bombs.
Figure 5. This position is approx. .6 to 1 mile from target not even over the coast just yet
To view if you hit the target, first either let the AI take over flying the plane (shift-F6) or hit autopilot (p key). You have several options here you can hit the F4 key and follow one bomb down:
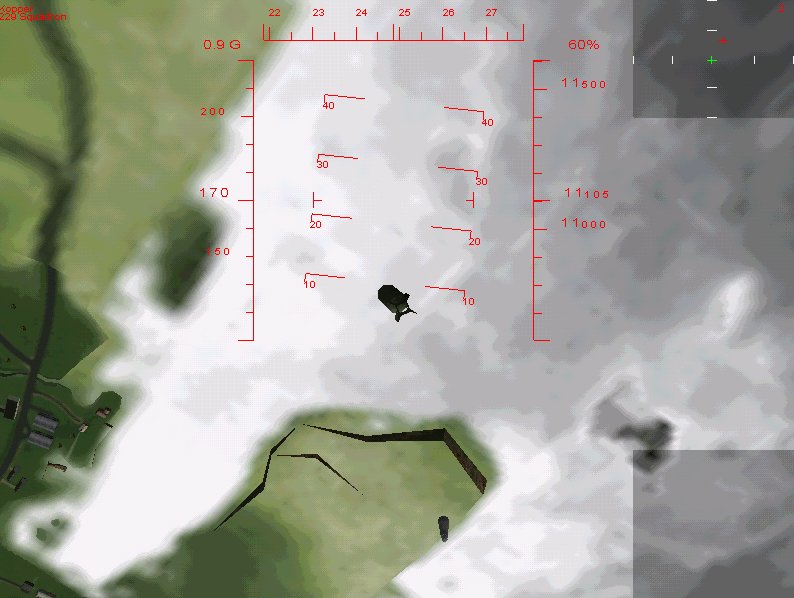
Figure 6. F4 view
Or you can go into slew mode (s key). To move around in slew mode you have to use your joystick or the keyboard equivalents for the joystick. Or you can hit the external view (F2) and move above your craft to view the hits.
How close do the bombs have to hit to cause damage to the target? Good question, in figure 7 you can see where the bombs hit including one in the bay and I scored over 500 points and 7 buildings destroyed. It wasn’t enough to give me a ‘you win message’, but good enough to cause damage.
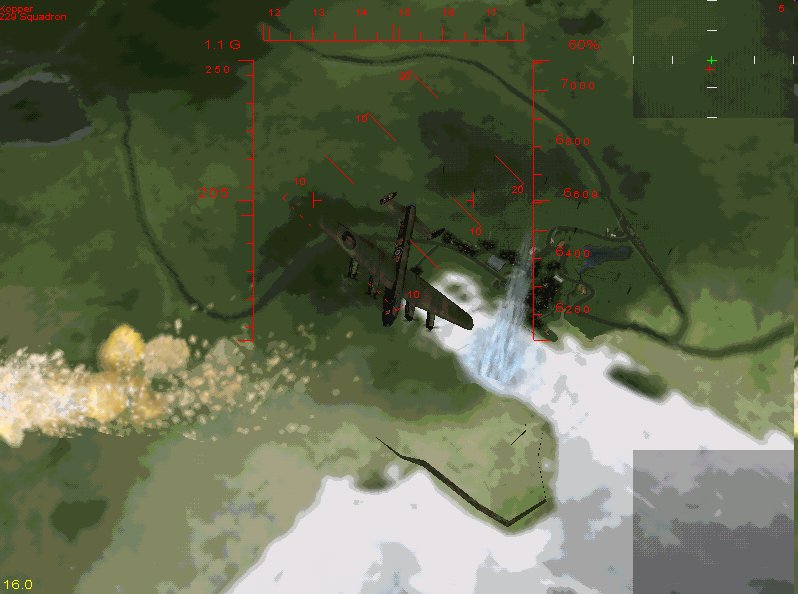
Figure 7. Hits appear wide, check out the one in the bay.
At this point you can leave the mission and see the summary. Warning when you do destroy buildings and not get the ‘you win’ message the mission debrief will say you need more practise.
My guess is we will have to bomb from high altitudes. Why? This way it will take enemy aircraft some time to climb to our altitude. I tried bombing at 3,000 ft and less. Somehow at this altitude when the bombs hit the ground the explosion also destroys the plane. Get proficient at 10,000 then 15,000 then 20,000 ft. My take is whenever possible bomb at 20,000 ft. Don’t be discouraged if you don’t hit the target first time out. It took me 15-20 tries before I could hit the target 3 times in a row. Now don’t forget this mission has no winds.